


What's on the plate?! #2
Sun-drying tomatoes to welcome summer.

What is spring if not a preparation break for sizzling summer temperatures? The sun is out but not hot enough to burn your back as you tend to whatever is left out to dry. And drying brings me to a project that I had been waiting to tick off my food projects- checklist and the good news is that I finally have!
I had been adamant about making myself a jar of sundried tomatoes mainly for two reasons - one is those available on the supermarket shelves are hugely unsatisfying in terms of the price for the quantity they come in. Secondly, I’m quite sceptical of their mass production in commercial dehydrators and being passed off as ‘‘naturally sundried.” If you think the latter’s not possible, give this article a read.
So how is sundried tomato different from tomatoes preserved in cans or liquified into puree? As the name suggests, plump tomatoes are left in direct sunlight to loose out the water content, which helps to preserve them for later use. Depending upon the heat exposure, it may take 3-4 days for tomatoes to look leathery and maybe one-fourth in size yet transformed into flavour bombs of sweet, sour and umami.
I first read about sundried tomatoes being used extensively in Italian cooking. In variations of pasta, sandwiches even pizzas. But a dear Kashmiri friend recently brought to my notice how it is a common practice to sun-dry tomatoes and brinjals in Kashmir for use in harsher winter months. And while I learn more about indigenous recipes and uses featuring sundried tomatoes -
Here are my observations and a step-by-step guide on sun-drying tomatoes:
Day 1
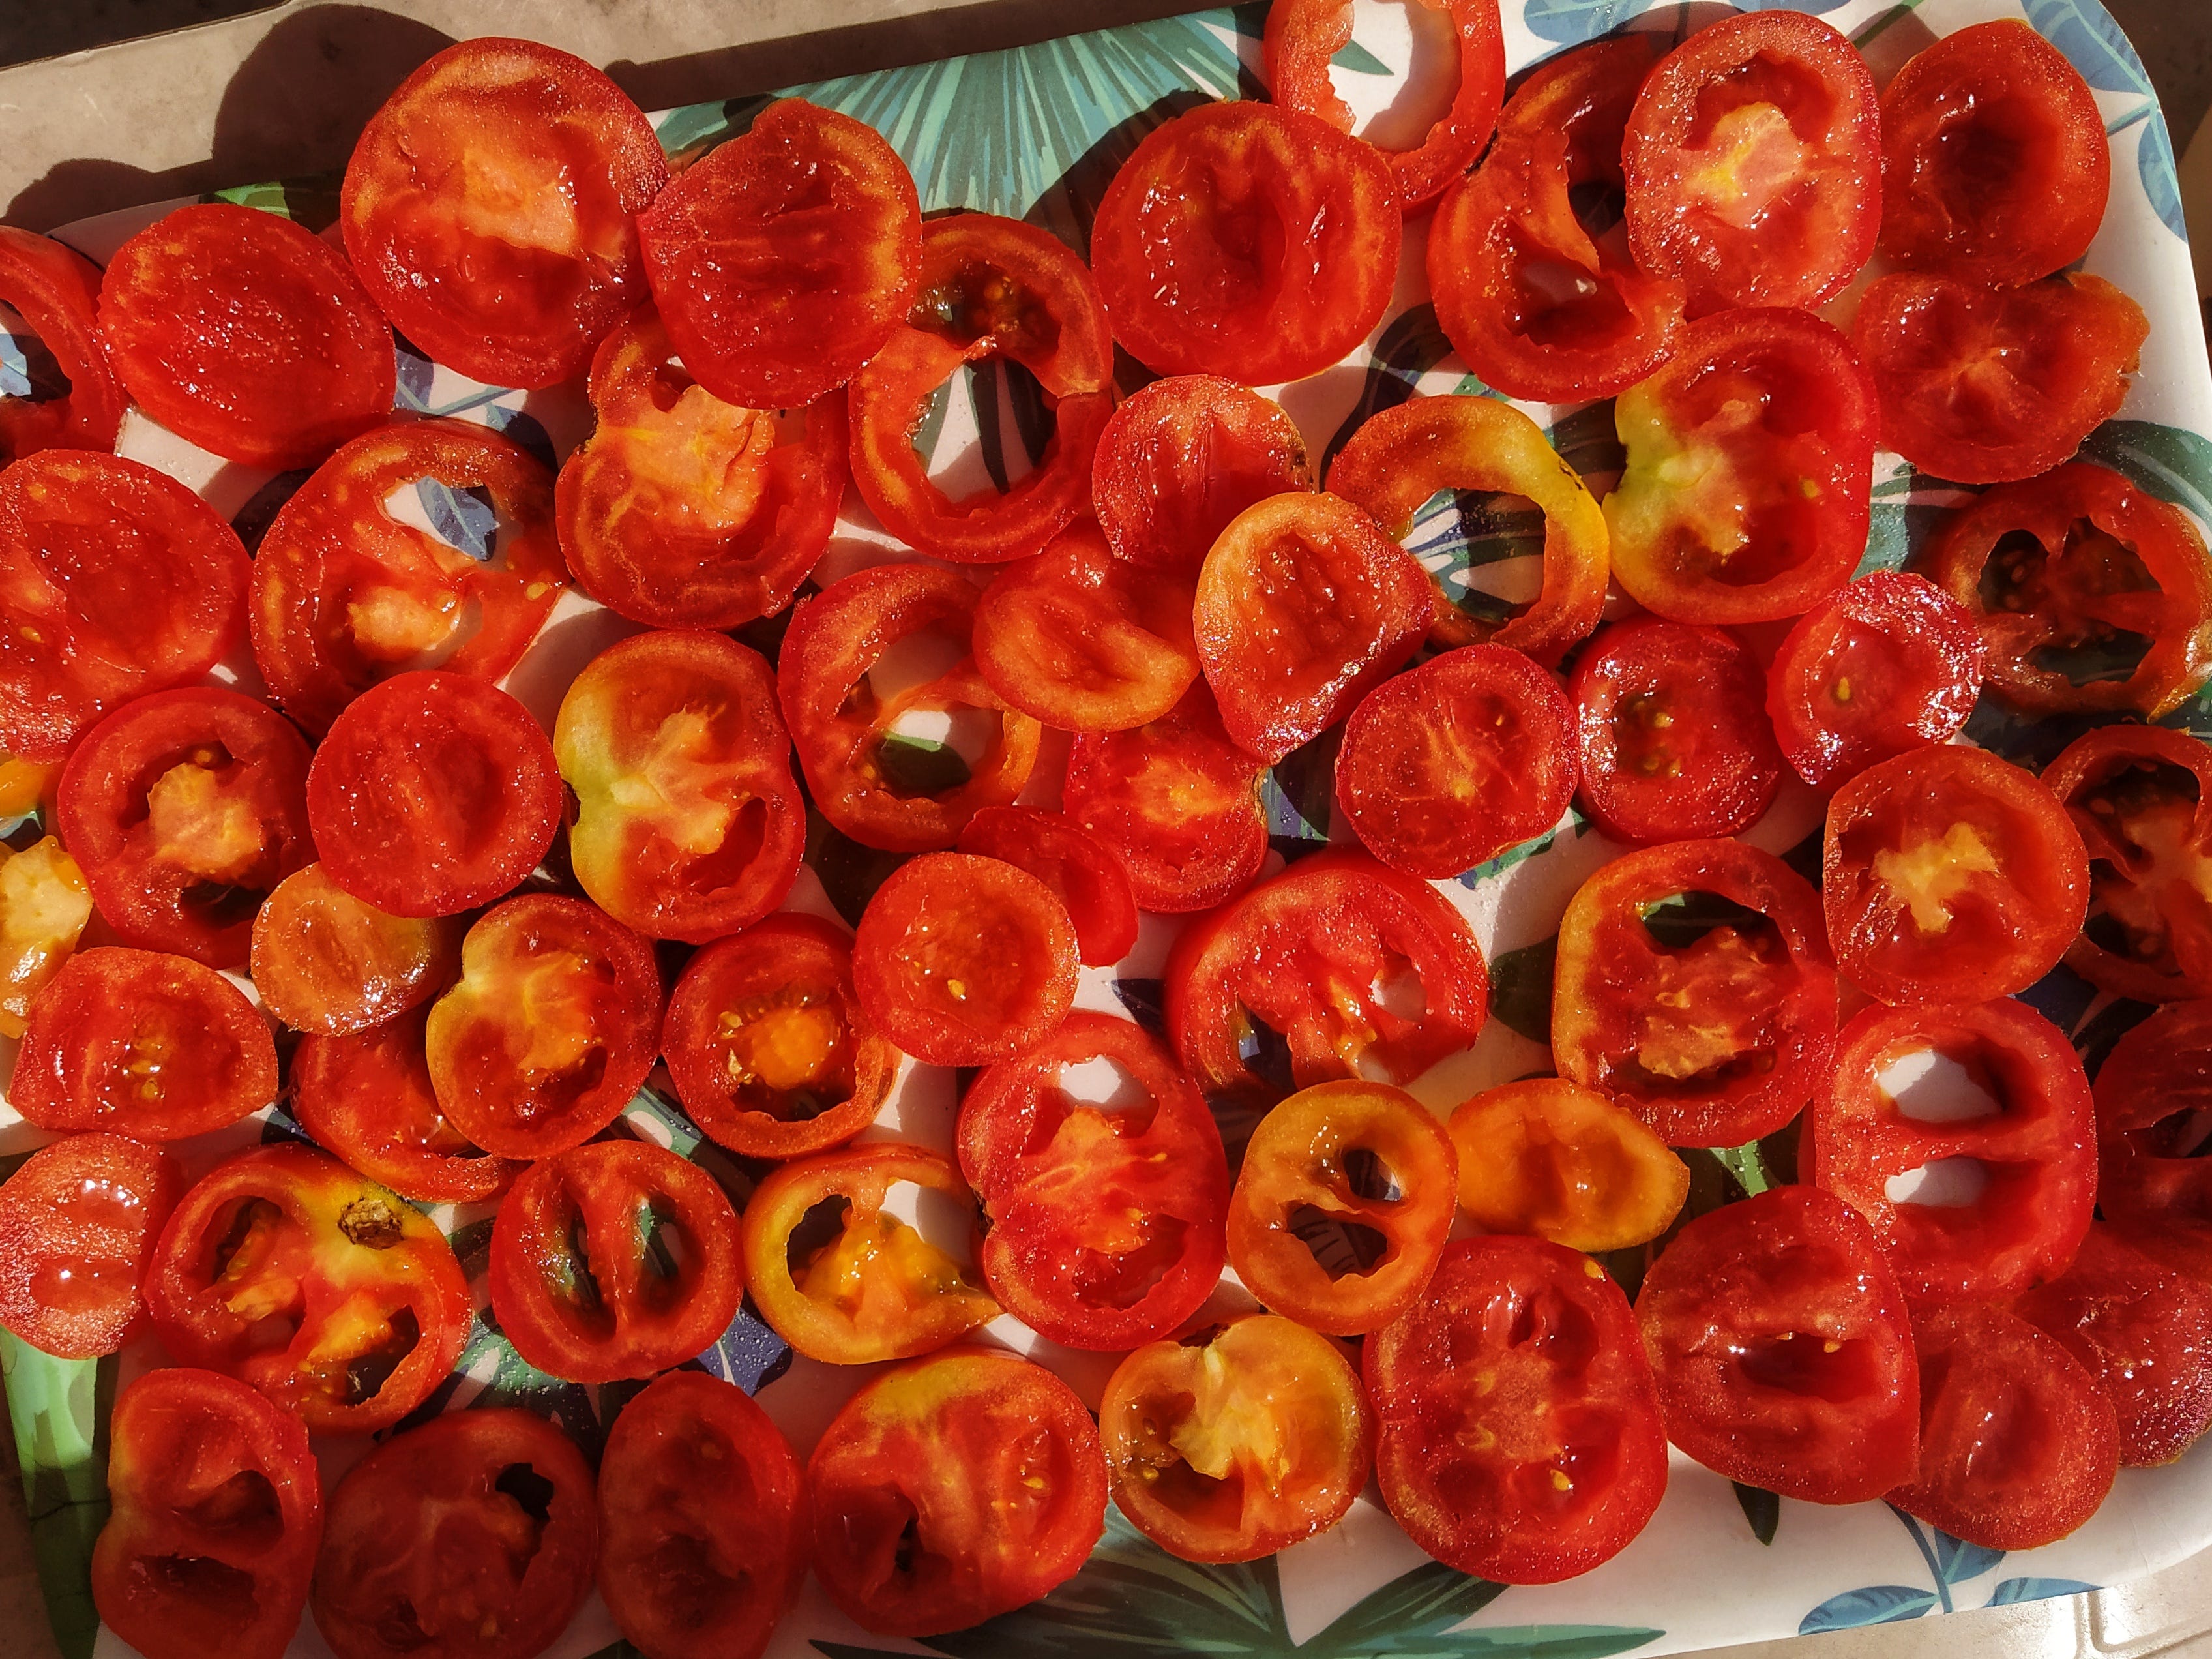
Step 1: Wash and slice nearly half a kilo of tomatoes, keeping them roughly the same size. You will notice that I have deseeded almost all the pulp membrane. Well, there is a method to that madness. A) It accelerates the drying out process. B) It saves the tomatoes from an attack of fruit flies during dark hours.
Step 2: Sprinkle salt on the tomatoes.
Salt helps to draw out the moisture faster. Normal table salt is all you need but the key is to sprinkle it evenly across the rows of tomatoes. Remember the end product has a dense flavour and no one likes intense salt in a mouthful.
Step 3: Keep it in direct sunlight, preferably uncovered.
As unfortunate as it is - DO NOT set these to dry in places with shifting sunlight. My first batch was a complete disaster as I was moving around the tray in pockets of sunlight on my balcony. Batch 2 was a success only because it was done on a roof-top with 8+ hours of sunlight per day.
Step 4: Cover with a newspaper and leave it in a dry place.
By sunset on Day 1, the tomatoes would have shrunk by 60 per cent. You want no exposure to fruit flies or moisture at this stage, so cover the tray with a newspaper and let it sit in a cool and dry corner of your kitchen/house.
DAY 2
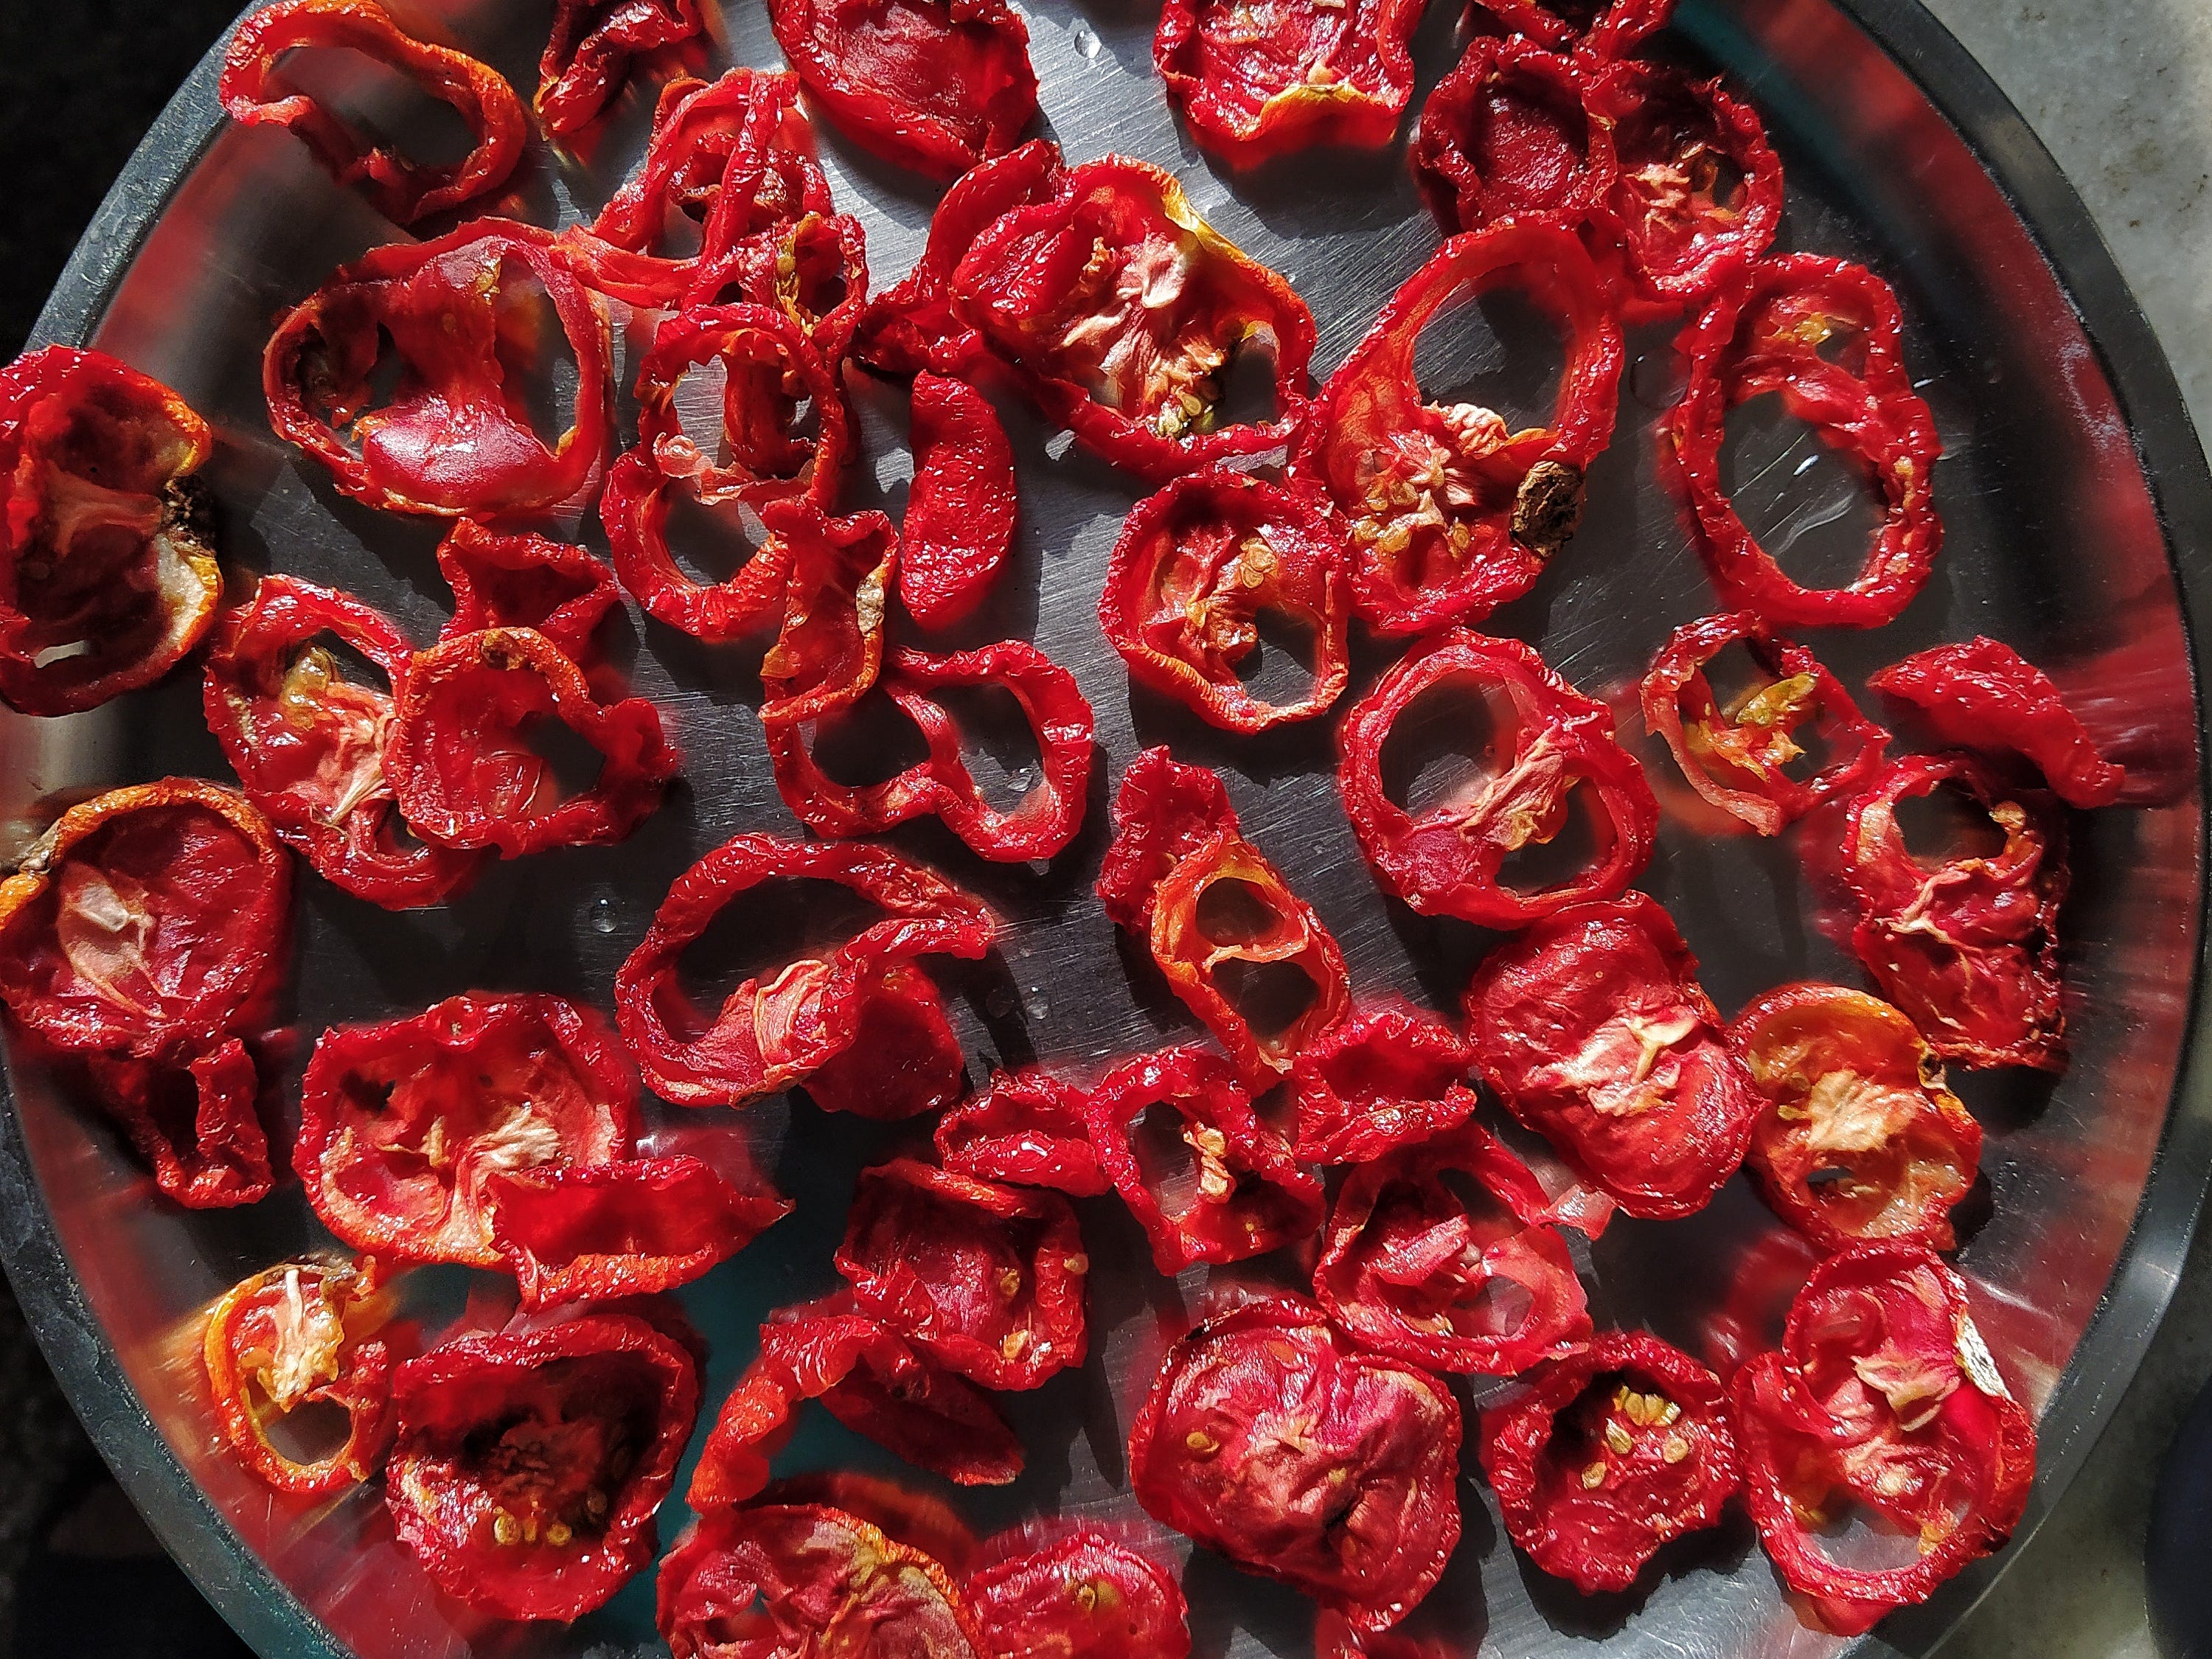
Most of the tomatoes will give a wilted look yet the more fleshy slices will still need a second sitting in the sun.
Touch and feel the tomatoes, turn them around and leave them to dry. Did I mention that flipping them halfway is important for even drying out?
There is nothing much to be done today if you have started with a small batch. I think its safe to start with a small batch to avoid wastage in hit and trials. I was really hurt about having to throw away my entire first batch.
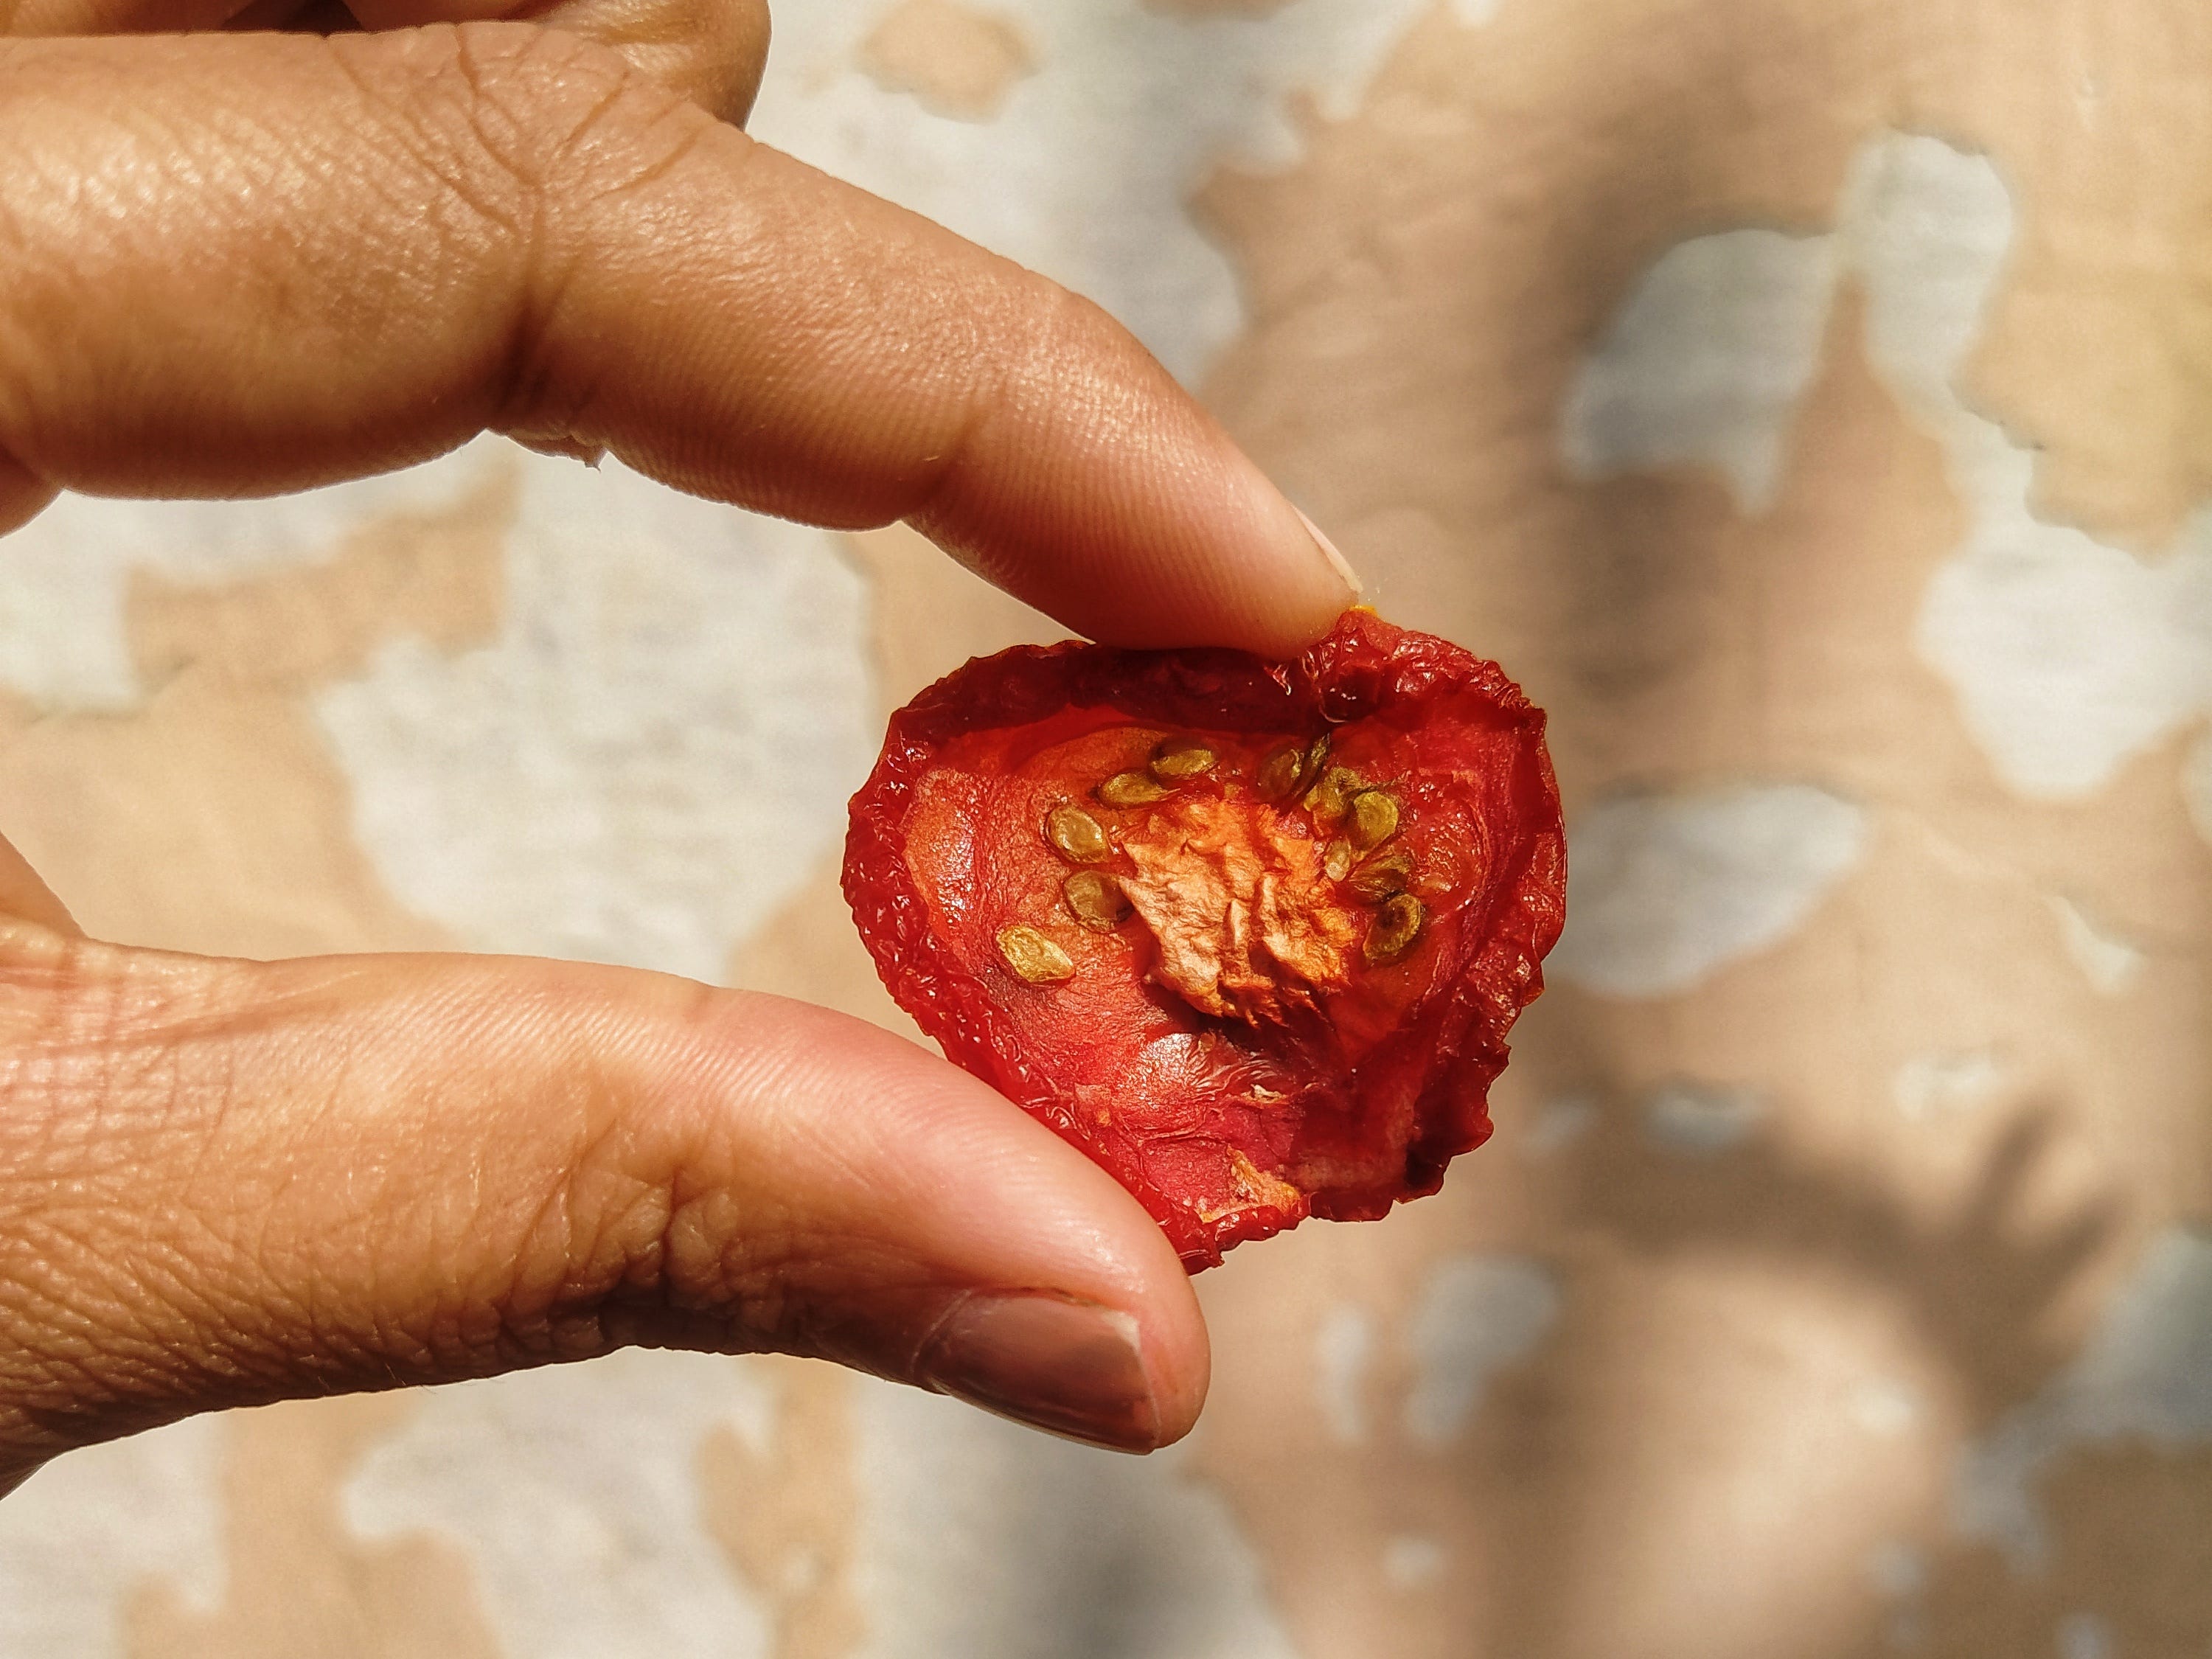
At the end of Day 2, this is how most of my tomatoes looked and I knew that they could be stored in a jar now.
I left them again on the counter overnight, covered in a newspaper.
Again: Touch and feel the fleshy part of the tomato, it should feel soft but not wet whatsoever. Even if there is one wet slice, set it out in sun, the next day. It is worth going the extra mile lest you want a bacterial infestation.
DAY 3
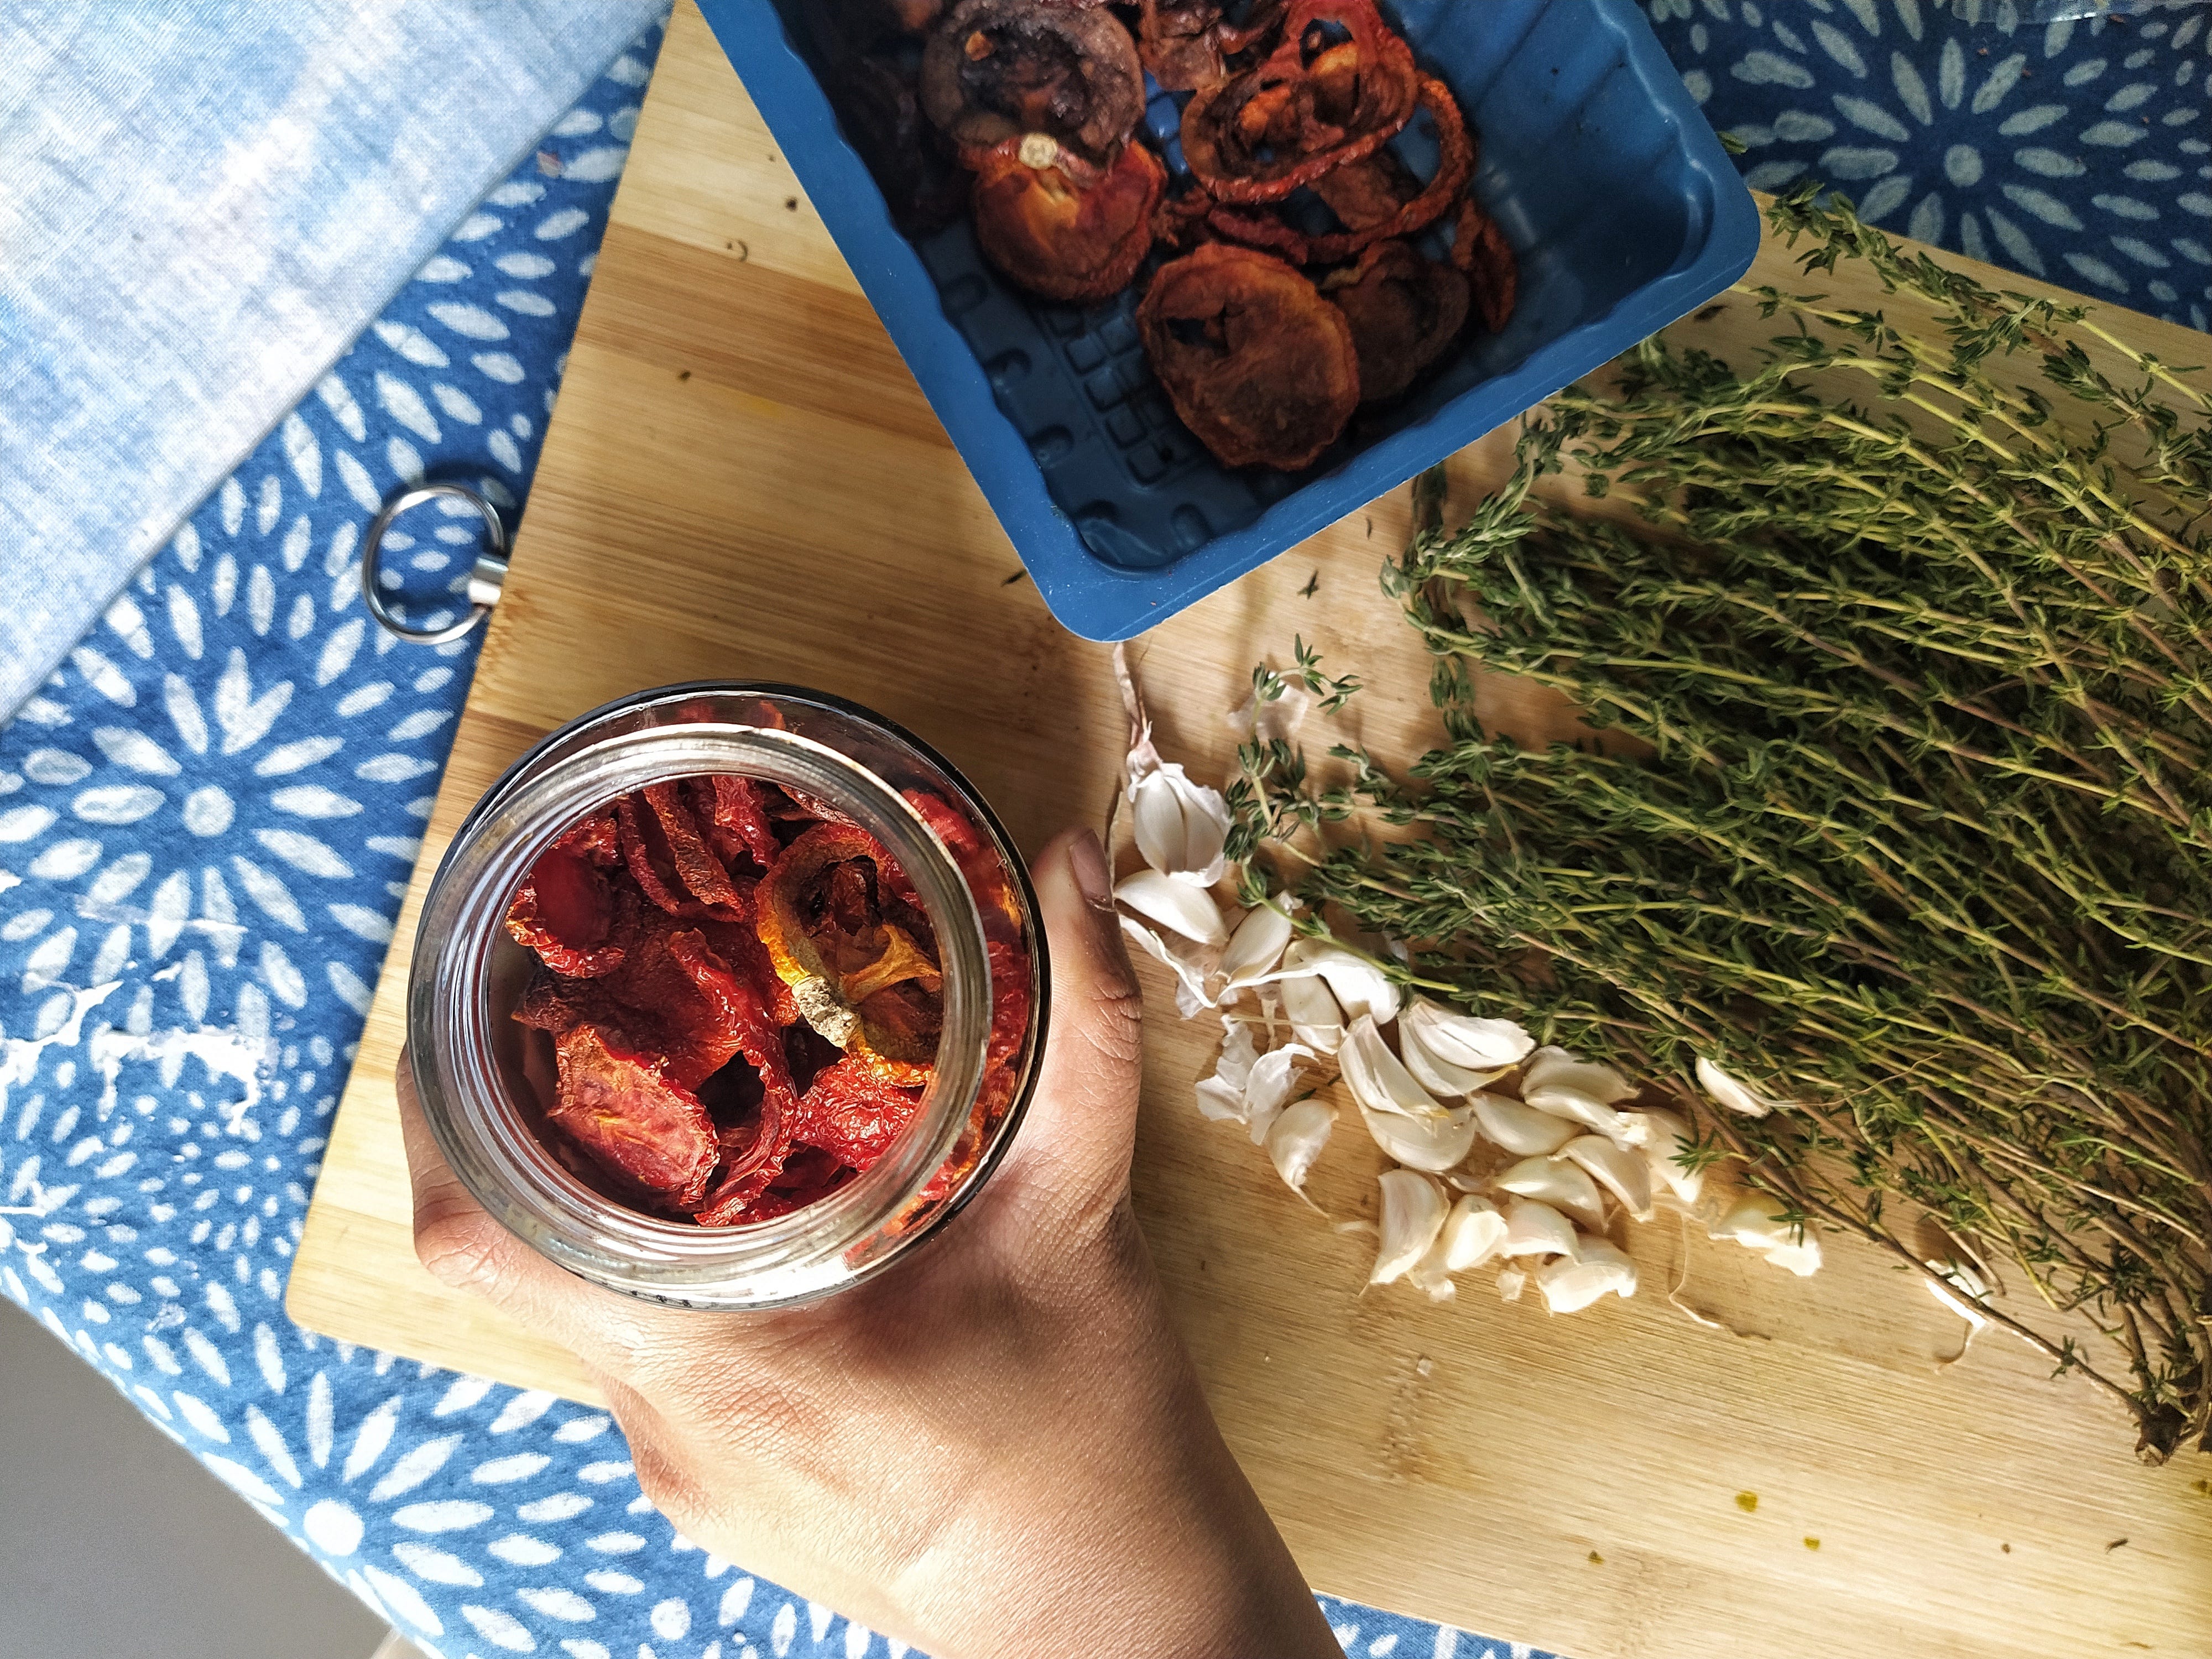
Now there are two ways to go about the storage. The easy one is you store it in a sterilized glass jar and use it as it is.
Or, you can also infuse the tomatoes in a neutral-flavoured oil and with other aromatics. I used garlic, thyme and soybean oil.

Trim thyme twigs to the size of the jar. Don't bother peeling the garlic and a snug fit everything into a glass jar.
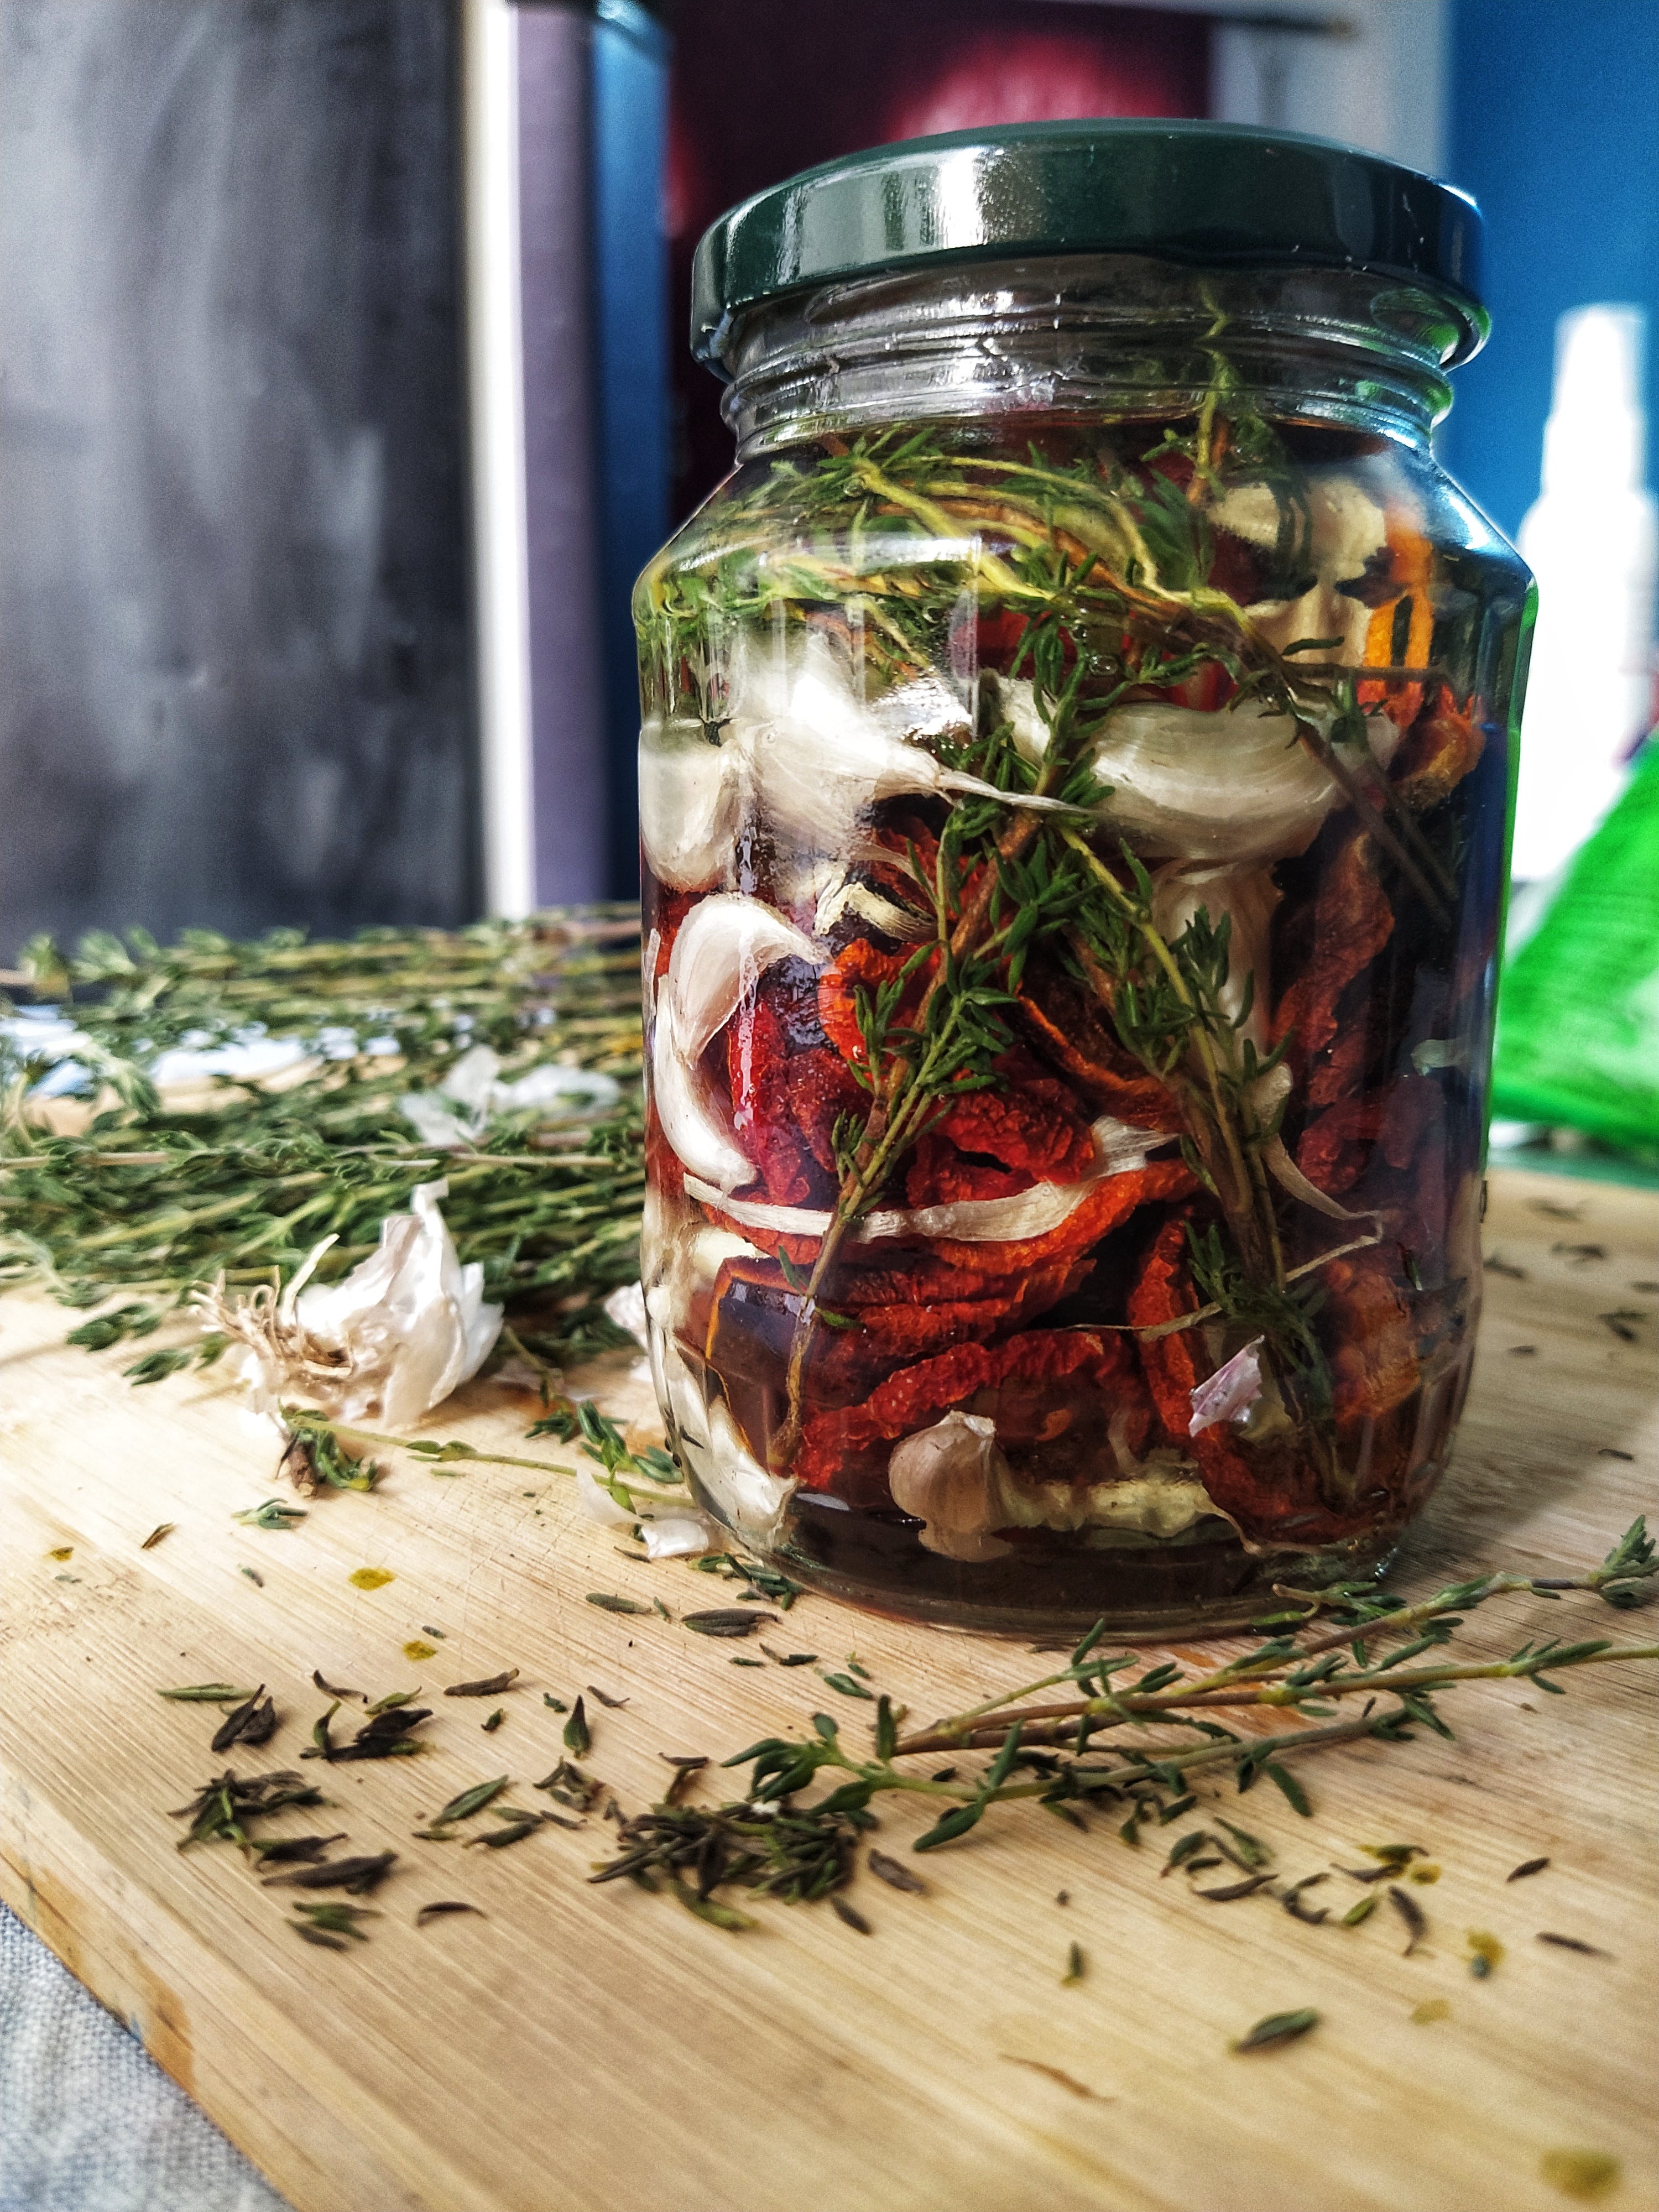
Cover the jar till the brim in oil. Close the lid tight and refrigerate it.
You can still use the infused oil after the sundried tomatoes finish up. Avoid using dry herbs while infusing as they might turn bitter over time.
And most importantly, keep checking the jar for any visible mould in case the drying has been uneven. That is it. #imademyownsundriedtomatoes.
If you have any tips, questions or just want to share your experience of making your own jar of sundried tomatoes - write them in the comments below. You can follow my Instagram page for more recipes and food content.
Thank you for joining in!
See you sooner, next time.